

Having several WordPress in subdomains, folders, and without using WordPress Multisite, can be a necessity that for some situation of the project is necessary. And to achieve this, we need HAProxy.
- Objective to be achieved
- What we are going to create
- Installing WordPress
- Installing HAProxy
- Testing sites
- About this document
- WordPress System Administration Services

This tutorial has been created on a Clouding.io VPS. You can create your own VPS from 3€/month.
In addition, you have the possibility to create your VPS with the WordPress image in one click.
PARTNERSHIP
Objective to be achieved
Let’s pose a situation that could occur, either with several WordPress or with several different technologies.
On the one hand, we have on //example.com/ a website; for example, a corporate website.
On the other hand, we have in //example.com/shop/ a store.
And, on the other, we have //example.com/education/ a system of courses.
Yes, the simplest thing would be to create a WordPress Multisite with everything, but, for whatever reason, it is not possible, so you have to mount 3 simple, different WordPress on 3 different servers.
If the system were in 3 subdomains, it would be easy, since we would point the A entries of the DNS to the 3 different IPs. But in this case, this is not the case.
And this is where HAProxy comes in, the tool that will be ahead of our sites and that will be responsible for sending the traffic.
What we are going to create
For this experiment we are going to create the following:
- A HAProxy that manages all the traffic, ahead.
- A WordPress in the root folder (
//example.com/). - A WordPress in a folder (
//example.com/shop/).
Each of these parts we are going to mount in a different VPS, although in reality the WordPress could be, theoretically, in a shared hosting if you wanted, for example, of several agencies that manage them.
Installing WordPress
The first thing we will prepare are the two WordPress. Keep in mind that the domain to install it will not be pointing in the DNS (since it will point to the proxy machine), so we will have to install the 2 WordPress, one in the root and one in the folder, without web access.
On the other hand, although Let’s Encrypt certificates can be mounted, some validations are likely to fail.
In any case, you can follow the WordPress installation manuals for both cases.
Installing HAProxy
In this example we are going to use:
- Ubuntu 22
- HAProxy 2.6
Installing HAProxy
Not all operating systems are the most current version of HAProxy available, so we will upload it from an alternative repository.
add-apt-repository -y -s ppa:vbernat/haproxy-2.6And we will do the installation.
apt-get -y install haproxyWe can validate that version 2.6.x is installed.
haproxy -vWe are going to treat it as a service, so that when starting the machine it always turns on and is available. To do this we need to activate the daemon.
cat > /etc/default/haproxy << EOF
#CONFIG="/etc/haproxy/haproxy.cfg"
#EXTRAOPTS="-de -m 16"
ENABLED=1
EOF
Now that we have everything ready, let’s activate it and leave it running.
systemctl stop haproxy
systemctl enable haproxy
systemctl start haproxy
systemctl status haproxy
To save the logs, we will activate the system.
cat > /etc/rsyslog.d/haproxy.conf << EOF
$ModLoad imudp
$UDPServerRun 514
$UDPServerAddress 127.0.0.1
EOF
systemctl restart rsyslog
Temporary TLS certificates
Until we configure the definitive certificates, we would need to have temporary certificates to treat the system always as HTTPS.
So we will create our temporary certificate with OpenSSL.
openssl req -nodes -x509 -newkey rsa:2048 -keyout /etc/ssl/private/temporal.key -out /etc/ssl/private/temporal.crt -days 365 -subj "/C=ES/ST=Barcelona/L=Barcelona/O=IT/OU=IT/CN=example.com"And when we have them, we will create the certificate that HAProxy will use.
cat /etc/ssl/private/temporal.key /etc/ssl/private/temporal.crt > /etc/ssl/private/temporal.pemConfiguring HAProxy
Foremost, we will make a backup of the configuration base file.
cd /etc/haproxy
cp haproxy.cfg haproxy.cfg-original
And we will make a first configuration to control the HTTP and be able to create the certificates with Let’s Encrypt.
cat > /etc/haproxy/haproxy.cfg << EOF
global
  log /dev/log local0
  log /dev/log local1 notice
  chroot /var/lib/haproxy
  stats socket /run/haproxy/admin.sock mode 660 level admin
  stats timeout 30s
  user haproxy
  group haproxy
  daemon
  # Default SSL material locations
  ca-base /etc/ssl/certs
  crt-base /etc/ssl/private
  # See: https://ssl-config.mozilla.org/#server=haproxy&server-version=2.0.3&config=intermediate
  ssl-default-bind-ciphers ECDHE-ECDSA-AES128-GCM-SHA256:ECDHE-RSA-AES128-GCM-SHA256:ECDHE-ECDSA-AES256-GCM-SHA384:ECDHE-RSA-AES256-GCM-SHA384:ECDHE-ECDSA-CHACHA20-POLY1305:ECDHE-RSA-CHACHA20-POLY1305:DHE-RSA-AES128-GCM-SHA256:DHE-RSA-AES256-GCM-SHA384
  ssl-default-bind-ciphersuites TLS_AES_128_GCM_SHA256:TLS_AES_256_GCM_SHA384:TLS_CHACHA20_POLY1305_SHA256
  ssl-default-bind-options ssl-min-ver TLSv1.2 no-tls-tickets
defaults
  log global
  mode http
  option httplog
  option dontlognull
  timeout connect 5000
  timeout client  50000
  timeout server  50000
  errorfile 400 /etc/haproxy/errors/400.http
  errorfile 403 /etc/haproxy/errors/403.http
  errorfile 408 /etc/haproxy/errors/408.http
  errorfile 500 /etc/haproxy/errors/500.http
  errorfile 502 /etc/haproxy/errors/502.http
  errorfile 503 /etc/haproxy/errors/503.http
  errorfile 504 /etc/haproxy/errors/504.http
frontend wordpress-http
  bind 1.2.3.4:80
  acl letsencrypt-acl path_beg /.well-known/acme-challenge/
  use_backend letsencrypt-backend if letsencrypt-acl
  acl wordpress-shop-acl path_beg /shop/
  use_backend wordpress-shop if wordpress-shop-acl
  default_backend wordpress-www
backend letsencrypt-backend
  server certbot 127.0.0.1:8899
backend wordpress-www
  server wordpress-www 10.0.0.2:443 ssl verify none
backend wordpress-tienda
  server wordpress-tienda 10.0.0.3:443 ssl verify none
EOF
We will check that the code is valid.
haproxy -c -V -f /etc/haproxy/haproxy.cfgAnd finally, we will restart the system to validate that everything is working.
systemctl stop haproxy
systemctl start haproxy
systemctl status haproxy
Some details to comment on this code…
frontend wordpress-http
  bind 1.2.3.4:80
  acl letsencrypt-acl path_beg /.well-known/acme-challenge/
  use_backend letsencrypt-backend if letsencrypt-acl
  acl wordpress-shop-acl path_beg /shop/
  use_backend wordpress-shop if wordpress-shop-acl
  default_backend wordpress-www
Here we see the configuration of the front (frontend). We can indicate the public IP (1.2.3.4) to which it has to respond, if the machine has several, or if we want it to respond to everything we can replace it with an asterisk (*).
In order for let’s Encrypt requests to be correctly responsive, we will create the system so that it is the machine itself that is responsible.
Subsequently, we indicate that the subsite “shop” sends the traffic to the store server, and that the subsite (or the rest of the traffic) goes to the main server “www”.
And here we will have the three backends:
backend letsencrypt-backend
  server certbot 127.0.0.1:8899

backend wordpress-www
  server wordpress-www 10.0.0.2:443 ssl verify none

backend wordpress-shop
  server wordpress-shop 10.0.0.3:443 ssl verify none
The first of them “letsencrypt-backend” will be used so that certificate requests are answered by Let’s Encrypt (through certbot).
The second of them, “wordpress-www”, will be the backend that responds to all the requests by default, and that corresponds to the WordPress that is in the root folder. In this case, we already indicate the IP address, which goes by HTTPS and that, to avoid internal problems, do not verify the private certificate that the sites may have. In this way, the connection will be encrypted, with a valid or self-signed certificate.
The third of them “wordpress-shop”, will correspond to the WordPress that is in the backend of the store. The operation is the same as in the previous case.
Generating the Let’s Encrypt certificate
As at any other time, we will make the call to the generation, and in this case, the validation will be done by the system that we have configured in the HAPRoxy.
certbot certonly --standalone -d example.com --non-interactive --http-01-port=8899Once the files have been created, we will do as before and create one for the HAPRoxy to use.
cat /etc/letsencrypt/live/example.com/fullchain.pem /etc/letsencrypt/live/example.com/privkey.pem > /etc/ssl/example.com.pemFinal configuration of HAProxy
Now that we have the certificate and the different sites working, we will make the last adjustments in the configuration file.
vim /etc/haproxy/haproxy.cfgThere we will replace and add some blocks:
frontend wordpress-http
  bind 1.2.3.4:80
  acl letsencrypt-acl path_beg /.well-known/acme-challenge/
  use_backend letsencrypt-backend if letsencrypt-acl
  redirect scheme https

frontend wordpress-https
  bind 1.2.3.4:443 ssl crt /etc/ssl/example.pem
  acl wordpress-shop-acl path_beg /shop/
  use_backend wordpress-shop if wordpress-shop-acl
  default_backend wordpress-www

backend letsencrypt-backend
  server certbot 127.0.0.1:8899

backend wordpress-www
  server wordpress-www 10.0.0.2:443 ssl verify none

backend wordpress-tienda
  server wordpress-tienda 10.0.0.3:443 ssl verify none
To the frontend that responds to the HTTP port (80), we will continue to give you the data to validate the certificate, but we will tell you that the rest of the traffic is sent to HTTPS.
We will create a new frontend that is solely responsible for HTTPS (443). In this case, we will tell you where the certificate we have just created is, and we will give you the instructions to send the traffic to the corresponding backends.
And finally, we will keep the two backends that we already had previously.
Now, once again, we will validate the configuration file and restart the HAProxy, to leave it running.
haproxy -c -V -f /etc/haproxy/haproxy.cfg

systemctl stop haproxy
systemctl start haproxy
systemctl status haproxy
Testing sites
Once we have the HAProxy, it means that we can already access our different WordPress.
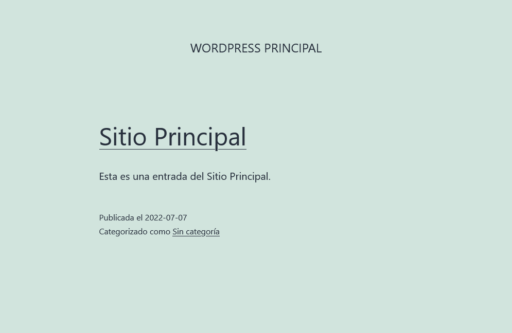
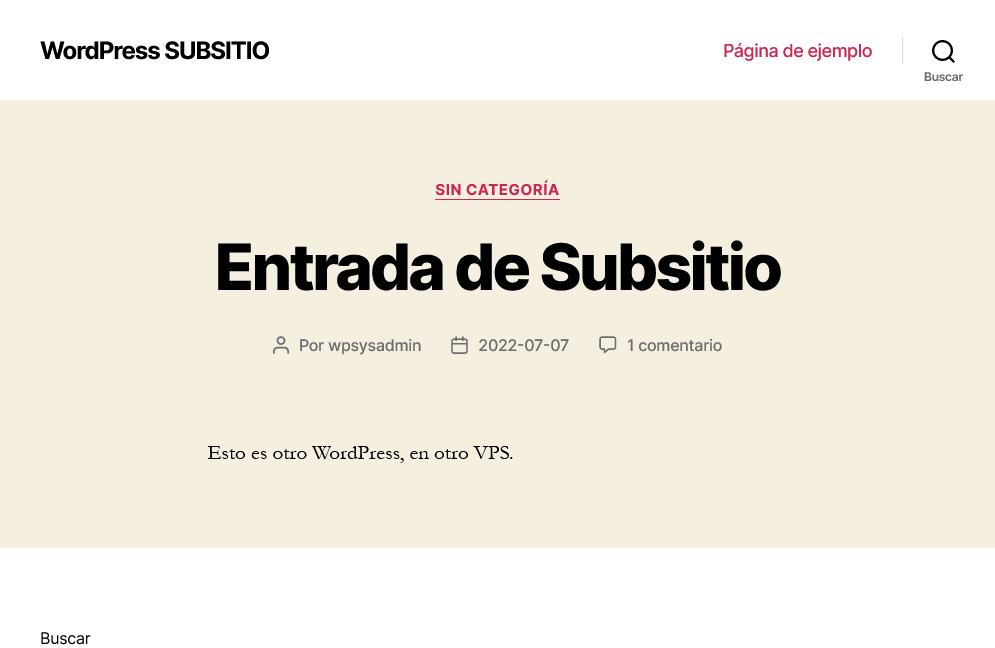
If we enter //example.com/shop/ we can access one of them, and if we access we //example.com/ will have access to the other.
A simple way to check that they are really two independent WordPress is to put each of them a different theme.
About this document
This document is regulated by the EUPL v1.2 license, published in WP SysAdmin and created by Javier Casares. Please, if you use this content in your website, your presentation or any material you distribute, remember to mention this site or its author, and having to put the material you create under EUPL license.
WordPress System Administration Services

Do you have a high traffic WordPress website? Are you an Agency with servers with cPanel, Plesk or other panel on which you maintain WordPress for your clients?
If so, and you are interested in a professional WordPress infrastructure maintenance and performance improvement service for your or your clients’ websites, contact me.